If integrating is not for you, SOOS can still help! Use the Manifest Scan functionality to scan your projects only when you want or need it.
Performing a Manifest Scan
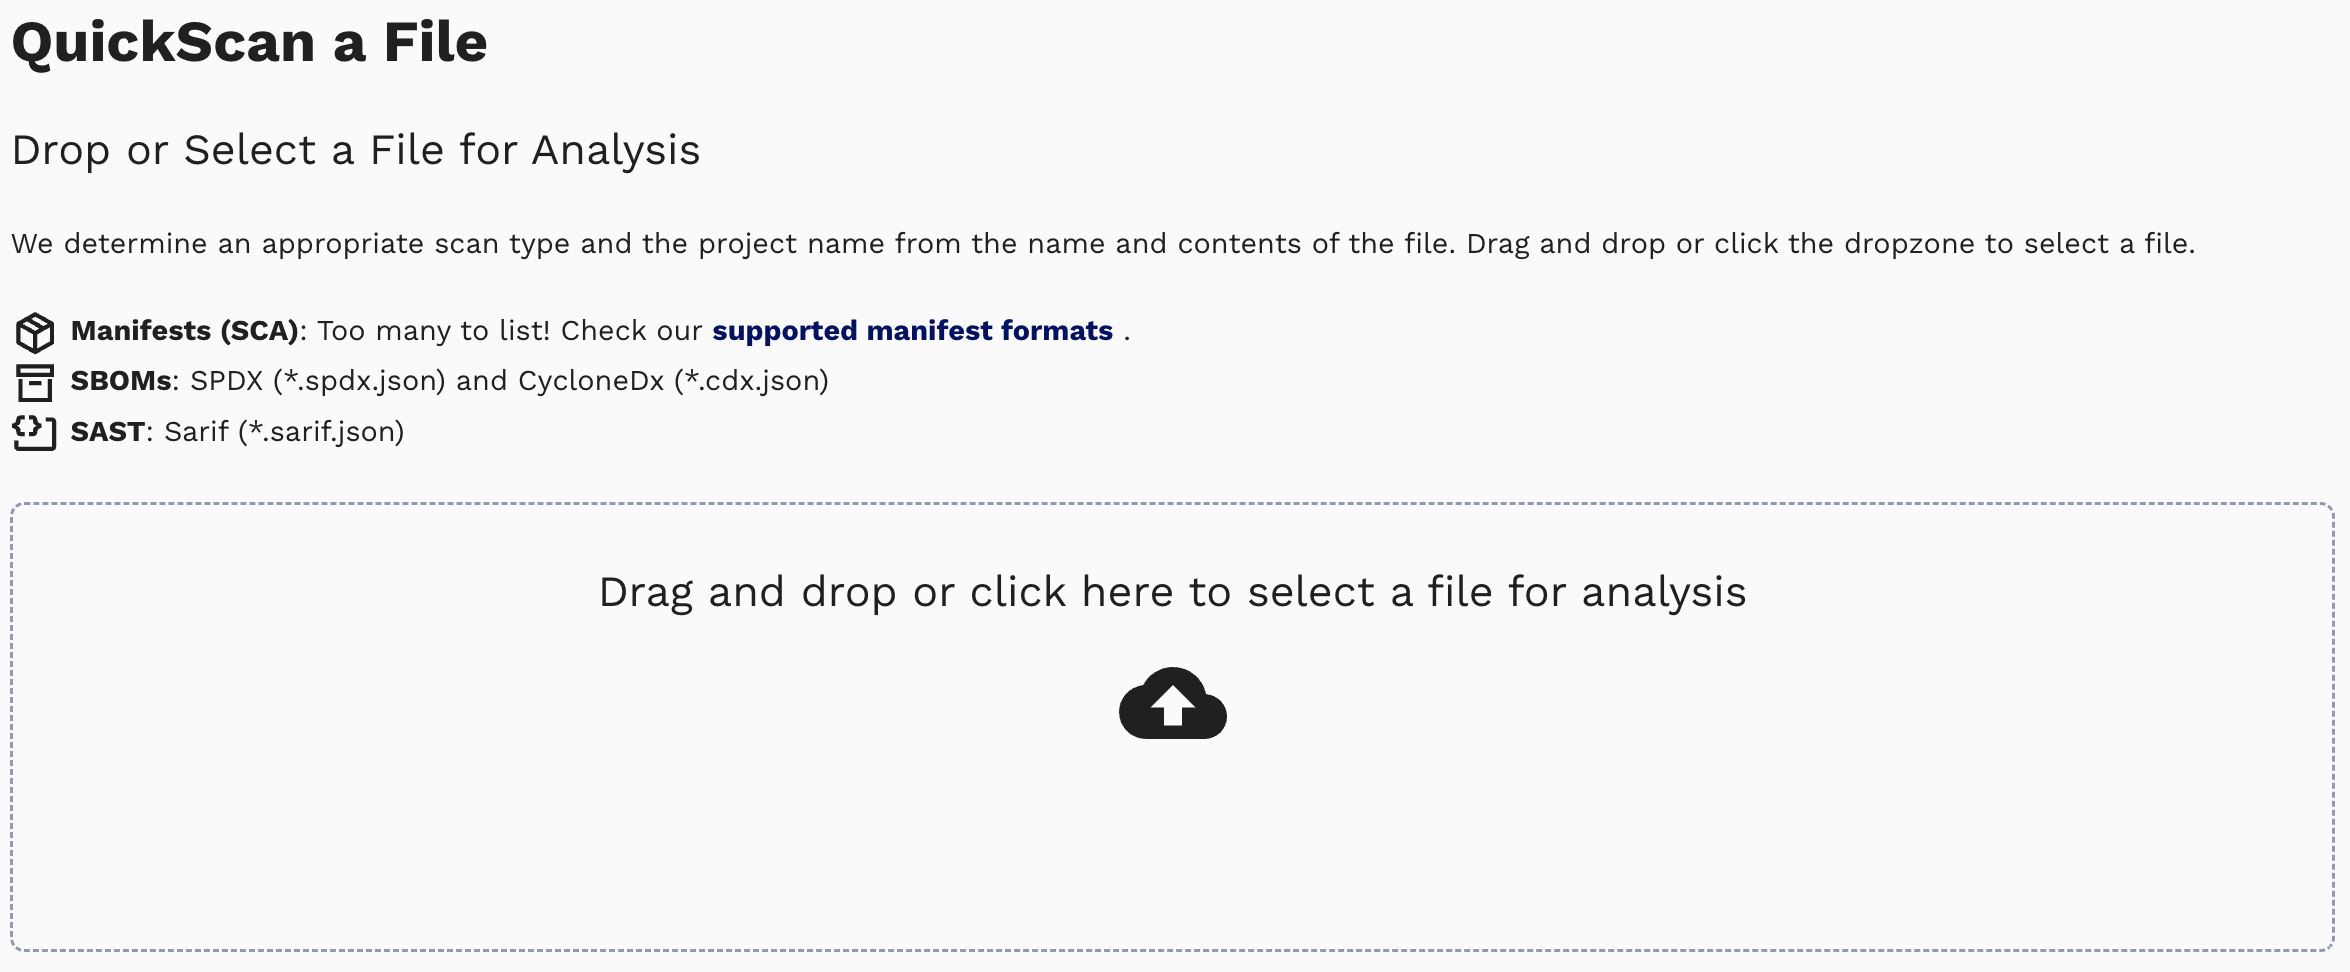
- Within the SOOS application, select QuickScan a File in the left navigation menu.
- Here you can upload, or drag & drop, the desired manifest. The scan will automatically initiate once the manifest type is detected.
- A warning will be provided if the manifest file exceeds the max size, is an unsupported format, or an unsupported version of a supported format. Supported manifest formats can be found here.
- A warning will be provided if the manifest file exceeds the max size, is an unsupported format, or an unsupported version of a supported format. Supported manifest formats can be found here.
- While the analysis is running, the Recent Scans icon in the left navigation menu will indicate 1 active scan in progress.
- Once the analysis is complete, the scan results will display as a project on the dashboard.
- The Manifest Scan analysis will determine a project name based on the the manifest content or the file name (if not named in the manifest syntax).
- Project details for projects created via Manifest Scan will only be updated by performing subsequent Manifest Scans of manifests with the same file name. To rescan the most recent manifest version to check for any newly reported vulnerabilities use the Rescan Now option.
A note about Manifest Scan Dependency Settings
The first time a manifest is uploaded via Manifest Scan, SOOS will always scan the full dependency tree and will include dev dependencies - this is different than defaults used for CI/CD integrated scans which do not include dev dependencies by default.
These Manifest Scan Dependency Settings will be applied as the Project Configurations defaults and will be used for subsequent scans of the same manifest unless the user makes a change.


